In a world full of digital messages, there’s nothing more special than receiving a tangible, handmade greeting card. It’s a small piece of art, a unique keepsake, and the ultimate way to show someone you truly care.
Making your own cards is not only a delightful, relaxing craft but also a fantastic way to save money and reduce waste by using up beautiful paper scraps. At HUBGH, we champion creative personalization, and card-making is the perfect place to start!
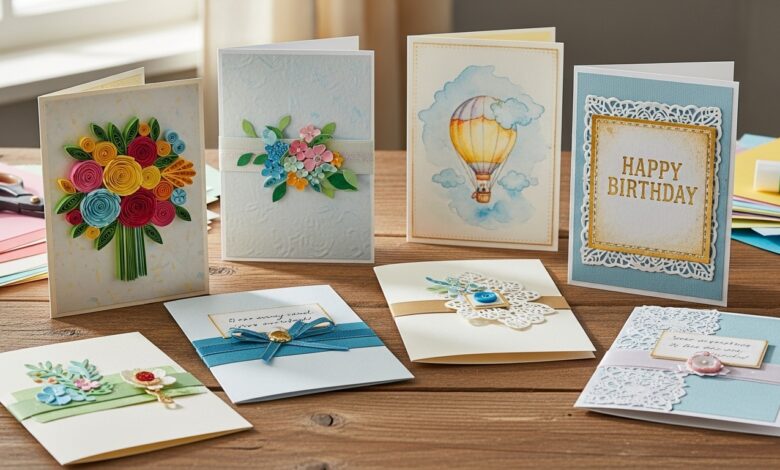
Here is a beginner-friendly guide to creating beautiful, stylish greeting cards using simple techniques and budget materials.
Getting Started: The Essential Card-Making Kit
You don’t need an expensive machine to make stunning cards. Focus on quality basics and use what you already have!
- The Base: Cardstock or heavy paper is essential. Look for white, cream, or neutral colours (80−110lb weight works well). Repurpose solid-coloured cardstock from old packaging or presentation folders.
- The Layers: Patterned Paper (scrapbook paper, gift wrap scraps, or even cut-outs from magazines).
- Tools: A sharp pair of scissors, a ruler, and a craft knife (optional, but great for clean edges).
- Adhesive: A good glue stick for large areas and liquid craft glue for small embellishments. Double-sided foam tape adds great 3D dimension!
- Embellishments: Markers, fine-tip pens, stamps, stickers, ribbon scraps, jute twine, or dried flowers.
Technique 1: The Layered & Focal Point Card
This is the most popular style and easiest for beginners to master, focusing on clean shapes and visual contrast.
Step-by-Step Guide
- Cut the Card Base: Cut your heavy cardstock to your final desired card size (e.g., 10x7inches). Fold it precisely in half to create a finished card (5x7inches). Use the back of a spoon or a ruler to press the fold (the crease) sharply.
- Add the Background Layer: Cut a piece of coloured or patterned paper about 1/4inch smaller than the front of your card (4.75×6.75inches). Glue this layer onto the card base, ensuring the border around it is even.
- Create a Focal Point: Cut a second, smaller shape (a square, circle, or rectangle) from a contrasting solid colour. This is where your main message or image will go. Attach it to the center of the background layer.
- Embellish with a Word: Use stamps, stickers, or simply write your message (e.g., “Hello,” “Thanks,” or “Happy Day”) with a metallic pen. Place this word or phrase in the center of the focal point layer.
- Add Texture: Tie a simple piece of twine or a thin ribbon around the entire card front, securing it at the edge of the focal point layer for an organic, textured touch.
Technique 2: The Eco-Chic Paper Cut-Out Card
This technique uses contrast and negative space for a simple, elegant, and modern look.
- The Base: Use a neutral card base (white or cream).
- The Top Layer: Take a piece of brightly coloured or patterned paper that is slightly smaller than the card front.
- Cut the Design: Carefully draw a simple shape onto the top layer (e.g., a heart, a balloon, a geometric window, or a bold initial). Use scissors or a craft knife to cut this shape out, creating a window in the paper.
- The Inner Pop: Cut a piece of different coloured paper (something that contrasts sharply with the top layer) and glue it behind the window opening, so the colour peeks through.
- Assembly: Mount the entire top layer onto the card base. The subtle contrast and clean lines instantly give the card a high-end, contemporary feel.
| Why You’ll Love Making Your Own Cards | |
| Budget-Friendly | You use up scraps of paper, ribbon, and stickers, turning waste into thoughtful gifts. |
| Highly Personalized | You can tailor every colour, theme, and message to the recipient, making the card feel truly bespoke. |
| Creative Practice | It’s a quick, satisfying project that boosts your creativity and allows for experimentation with colour and composition. |
Export to Sheets
Card-making is the ultimate low-pressure DIY. Embrace the tiny imperfections—they are what make your handmade creations so charming!
Ready to swap store-bought greetings for custom creations? Try these simple techniques and tag @HUBGH to share your handmade masterpieces!