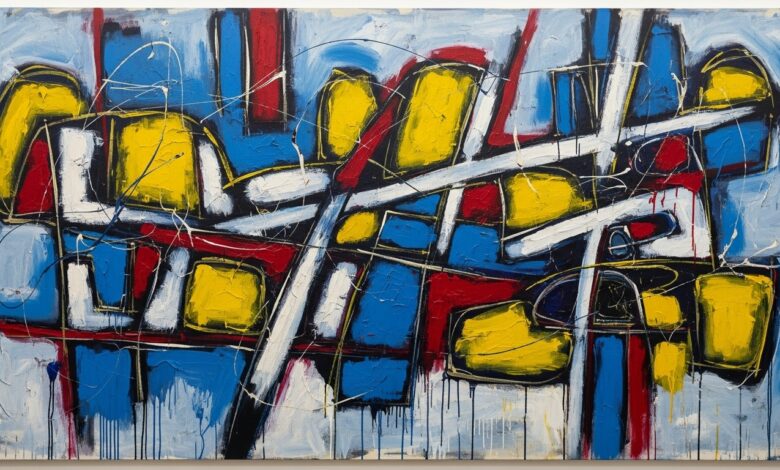
Ever admired those stunning abstract paintings that seem to effortlessly elevate a room, and thought, “I could never do that”? Think again! Abstract art is incredibly liberating because there are no rules, no rights or wrongs – just pure, unadulterated creative expression.
At HUBGH, we believe everyone has an artist within them, especially when it comes to transforming a blank canvas into a piece of personalized home décor. Forget expensive art classes; this beginner-friendly guide will show you how to create a captivating abstract canvas painting that looks professional and stylish, all on a budget.
Get ready to experiment with colour, texture, and intuition – your walls are about to get a major glow-up!
The Power of Play: No Experience Required!
The beauty of abstract painting is that it’s all about process and feeling. Focus on enjoying the journey, and you’ll create something unique and beautiful.
What You’ll Need (Your Creative Toolkit)
- Canvas: A pre-stretched canvas (any size you like, but $16\text{x}20$ or $20\text{x}24$ is a great starting point). Repurpose an old canvas by painting over it with white gesso!
- Paints: Acrylic paints are ideal for beginners—they’re affordable, dry quickly, and clean up easily with water. Choose 3-5 colours that you love and that complement your home décor. Include a metallic (gold, silver, or copper) for a touch of elegance.
- Brushes/Tools: A few brushes of varying sizes (a wide flat brush for background, a smaller one for details). Old credit cards, sponges, spatulas, or even your fingers work wonderfully for texture!
- Palette: An old plate, a piece of cardboard, or a plastic lid.
- Water & Paper Towels: For cleaning brushes.
- Optional for Texture: Spackling paste or joint compound (from the hardware store), mixed with a little white acrylic paint.
Step-by-Step Abstract Creation (The “Intuitive Layers” Method)
This method builds up layers and textures, allowing the painting to evolve organically.
- Prep Your Space: Lay down newspaper or a plastic sheet to protect your work surface.
- The Base Layer (The Mood Setter): Choose one or two of your lighter colours. Using a large brush or even a sponge, cover the entire canvas. Don’t worry about perfection; this is just to eliminate the stark white and set the initial mood. Let it dry partially.
- Add Texture (Optional, but Fun!): If you want to add dimension, mix some spackling paste with a small amount of white paint. Using an old credit card or a palette knife, spread this mixture onto certain areas of the canvas. Create ridges, swirls, and peaks. Let it dry completely if you want a clean texture, or paint over it while wet for a more blended effect.
- Introduce Your Main Colours (The Play Begins!): Start applying your chosen colours. Don’t overthink it! Try different techniques:
- Brush Strokes: Use broad strokes, dabbing, or swirling.
- Dabbing/Sponging: Use a sponge for soft, blended areas.
- Scraping: Use an old credit card to scrape lines or layers of colour across the canvas, revealing layers underneath.
- Blending: While paints are still wet, blend colours directly on the canvas for soft transitions.
- Develop Composition & Balance: Step back frequently! What areas need more colour? Where is it too busy? What feels unbalanced?
- Rule of Thirds: Imagine lines dividing your canvas into nine equal sections. Try to place focal points along these lines or intersections.
- Contrast: Ensure you have areas of light and dark, or bold colours next to subtle ones, to create visual interest.
- The “Oh-So-Important” Details & Metallics: Once you’re happy with the overall composition, add finer details. Use a smaller brush for lines, dots, or subtle marks. This is a great time to introduce your metallic paint. A few strategic streaks or dabs of gold or copper can catch the light beautifully and add a touch of sophistication.
- Know When to Stop: This is often the hardest part! Once you feel a sense of completion, even if it’s not “perfect” by traditional standards, put down your brushes. Overworking can muddy colours and detract from the freshness.
- Dry & Hang: Let your masterpiece dry completely, which can take up to 24 hours depending on paint thickness. Then, find the perfect spot to display your custom art!
| Why You’ll Love This Project | |
| Pure Expression | There are no mistakes in abstract art! It’s a wonderful way to express yourself freely. |
| Custom Home Décor | Create a truly unique piece of art that perfectly matches your home’s colour scheme and your personal style. |
| Stress Buster | The act of painting can be incredibly meditative and a fantastic way to unwind. |
You’ve just created a stunning piece of art that reflects your unique vision—and all without needing an art degree!
Ready to get messy and creative? Try this intuitive painting method and tag @HUBGH to share your abstract canvas masterpieces! We can’t wait to see what you create!